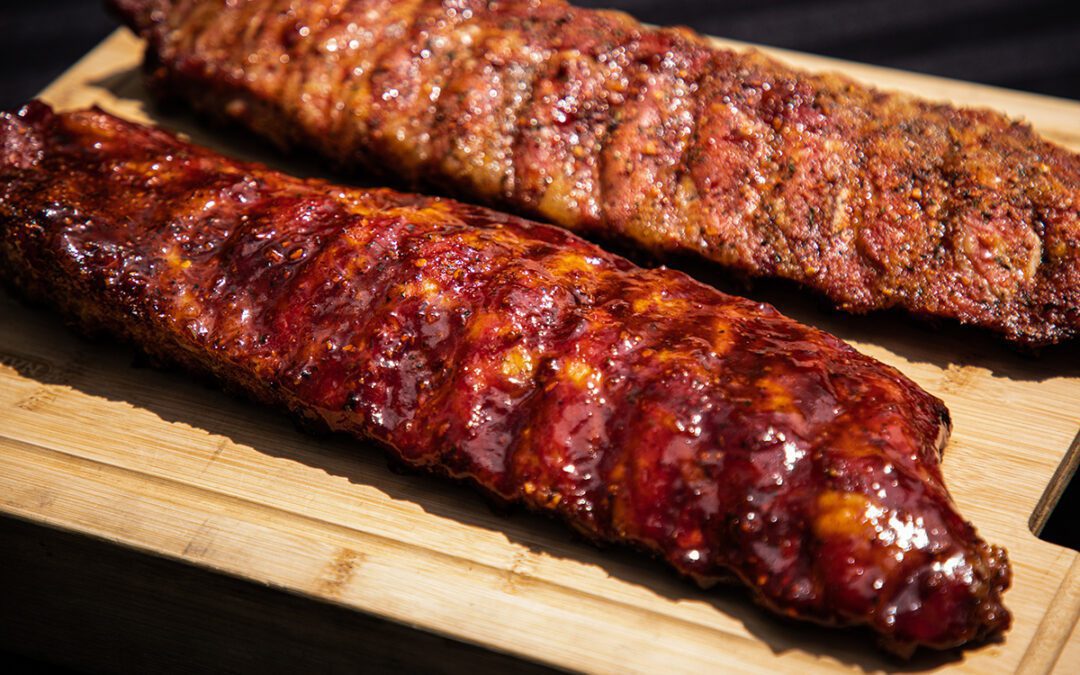
Sweet and Spicy, Tangy and Tasty Ribs
Ribs.
The word alone is enough to get everyone’s attention.
Pork ribs should be at the top of the very short list of go-to’s that come to mind whenever you have a little time on your hands and want a nice home-cooked dinner. They are truly the middle ground between home-style cuisine and BBQ science, because they are super versatile and easy to work with. You can grill them, roast them, cook them low and slow, or hot and fast, or even sous vide – there’s always a way to make them work.
Pork isn’t known for having a bold flavour profile, but it mixes very well with marinades and – the fat within its muscle fibre acts as a conduit for rubs and evens out the flavours. Whether you choose baby back or spare ribs, your focus needs to be on the flavour profile, so don’t be afraid to experiment with different combinations of rubs and sauces.
Ribs are part of the BBQ holy trinity, but a lot of people are still intimidated by them because they can take hours to cook. Let me reassure you and tell you that ribs can be done quickly and easily, and still taste great!
Many people swear by the ever-so-popular 3-2-1 method – smoking the ribs for 3 hours at 225°F, then leaving them wrapped in foil with a liquid for 2 hours to add back moisture and flavour, and to accelerate the cooking process, and lastly, unwrapping them for 1 hour to dry out the bark and letting them glaze up at the very end. Occasionally, however, time just isn’t on your side and you need to make things work as fast as possible. The good news is that there are other ways to cook easy homemade ribs in half the time.
Here is how I cook my Sweet and Spicy, Tangy and Tasty ribs:
It is important to note that whichever method you choose to cook your ribs, the first step will always be to remove the silver skin. From there, you will be building up and crafting your flavour profile to give your ribs some personality.
While I like my spit-roasted ribs on the savoury side, I enjoy my traditional ribs best when they are sweet and very tender. When choosing a dry rub for this method of grilling ribs, look for the perfect balance of sweetness and heat; it should also help the bark achieve a nice mahogany colour.
Pro tip: The sweeter the rub, the heavier you need to go. Don’t hold back and go light on the sweetness. It’s easy to go overboard with heat and salt, but it’s very hard to oversweeten ribs. Furthermore, if your rub is composed of high-quality sugar, it will help build a deeper and richer crust as the sugar won’t burn through the first hour of cooking.
It is best to use a smoker for this recipe, and in order to cook something that won’t take all day and still be delicious, I prefer to use the hot-and-fast method – this consists of smoking the ribs in half the time, all while making sure to consistently add moisture as they cook.
Once the ribs are trimmed and seasoned, the next step is to cook them at 275°F for 90 minutes and to sprinkle them with Cherry Cola or Dark Ginger Ale every 30 minutes. Trust me, the addition of an extra sweet layer will help turn these ribs into rich and flavourful bites in the long run. Everyone will ask for more!
Once the ribs are done smoking, take them out and wrap them in foil with butter, some extra dry rub and a quick dab of rib glaze. After that, you can put the ribs back on the barbecue for 60 to 90 minutes at 325°F. You’ll know when they are ready – they will be soft enough to bend backward as you move the foil.
Now, after all of that, your bark will have most likely softened up in the foil, so you’ll want to remove them, slather them with some extra rub and/or glaze, and for the finishing touch, throw them back over direct heat to help rebuild texture on the bark.
And there you have it! A simple and efficient way to cook very tasty ribs that are packed with flavours, thanks to the extra love provided by the dry rubs.
Some days, you just have to remind yourself that you don’t need to get fancy to get some finger-licking good food on the table. All you need is to mix the right rub with the right protein and you’ll be able to create some magic.
Now that you know that amazing ribs recipes can be done in under 3 hours, enjoy some more ribs, have fun playing around with your favourite rubs and sauces, and spend more time with your loved ones!
Max Lavoie
BBQ Guru, House of BBQ Experts