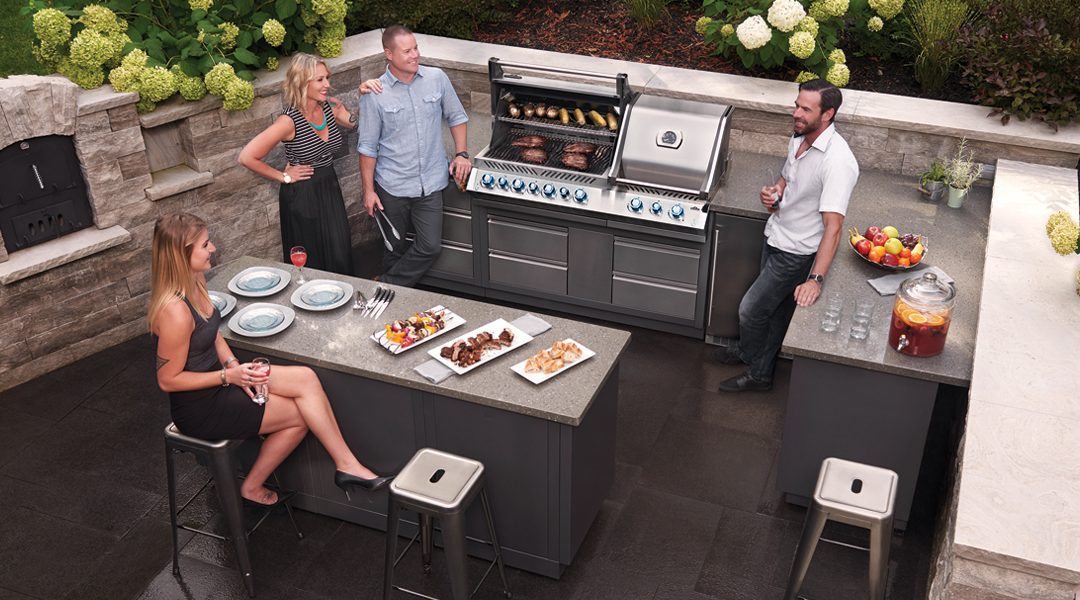
Winterizing Your Barbecue
Many of us enjoy grilling outdoors year round, but for some of us, the grilling season comes to an end when temperatures drop below freezing. If you don’t plan to grill during the winter, we recommend “winterizing” your grill. Properly caring for it during the winter months will ensure your appliance will be in good working order next season.
Cleaning the Grill
Apply non-stick spray on the grates before lighting the grill; the protective spray cuts down the clean-up time afterwards. Heat for about 15 minutes, turn off the grill and allow it to cool. If you have a charcoal grill, line the bowl with aluminum foil. After heating, and once the grill and coals are cool, discard the foil with the coals and ash.
Once the grill has cooled, use a wire brush or even crumbled aluminum foil to scrub away buildup on the grates, and discard any grease from the grease tray. Spray grease-cutting dishwashing detergent on grill and grates, scrub with brush or abrasive pad, then rinse. A repeat may be necessary.
Clean the outside of the grill, using a good stainless steel cleaner; it’s important to scrub and polish in the direction of the grain. Make sure all dirt is removed, which can get trapped in the grain.
Covering the Grill
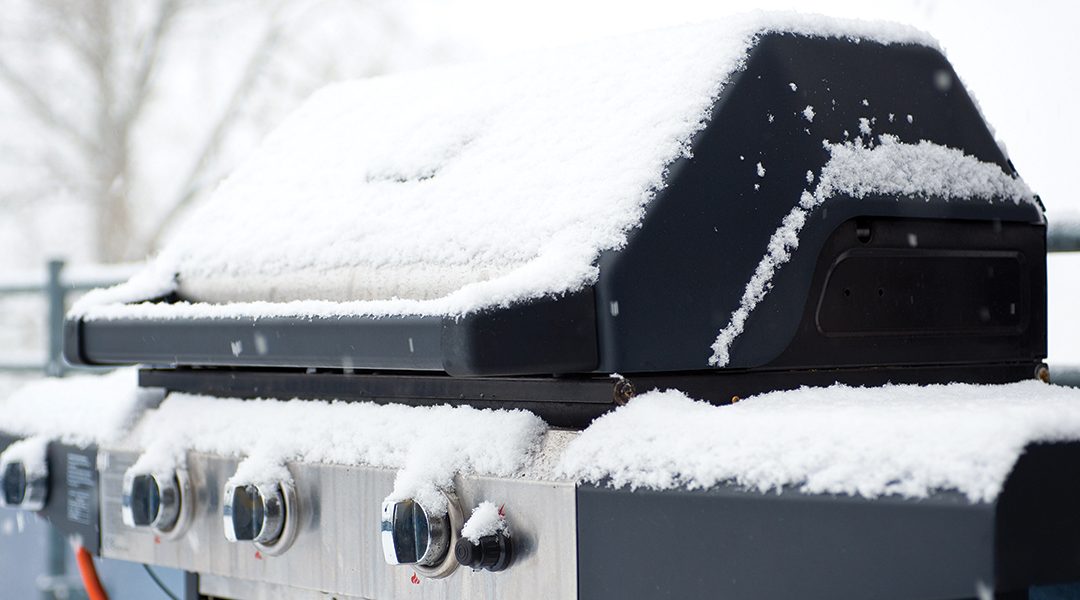
Invest in a good cover for your appliance; this is especially important if you plan on keeping it outside. Prolonged exposure to the elements can shorten the life of your grill, no matter how high quality it is. Grill covers are a good investment, when you compare their relatively low cost to the price of replacing your grill.
Cover once the barbecue is cool and dry.
Storing the Grill
If you won’t be using your barbecue during the winter, unplug your gas from the wall or remove your propane tank. If you have space, we recommend storing the barbecue in your garage or under a covered part of your patio. It is not safe to store propane tanks in the garage; store them outside, off of the ground, and cover.
If you have cast iron grates, it’s best to bring them inside. Temperature changes can cause them to crack, and moisture in the air can cause them to rust. It’s a good idea to season them before you put them away.
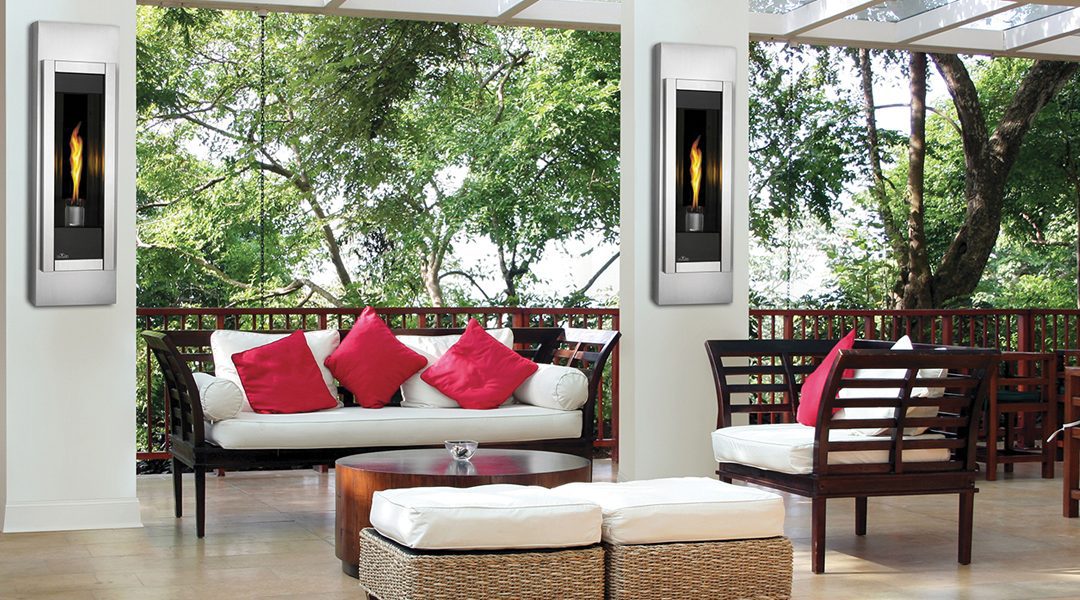
Preparing Your Outdoor Living Space for Winter
It’s also important to prepare and protect the rest of your appliances and equipment, so that everything is ready to use in the spring.
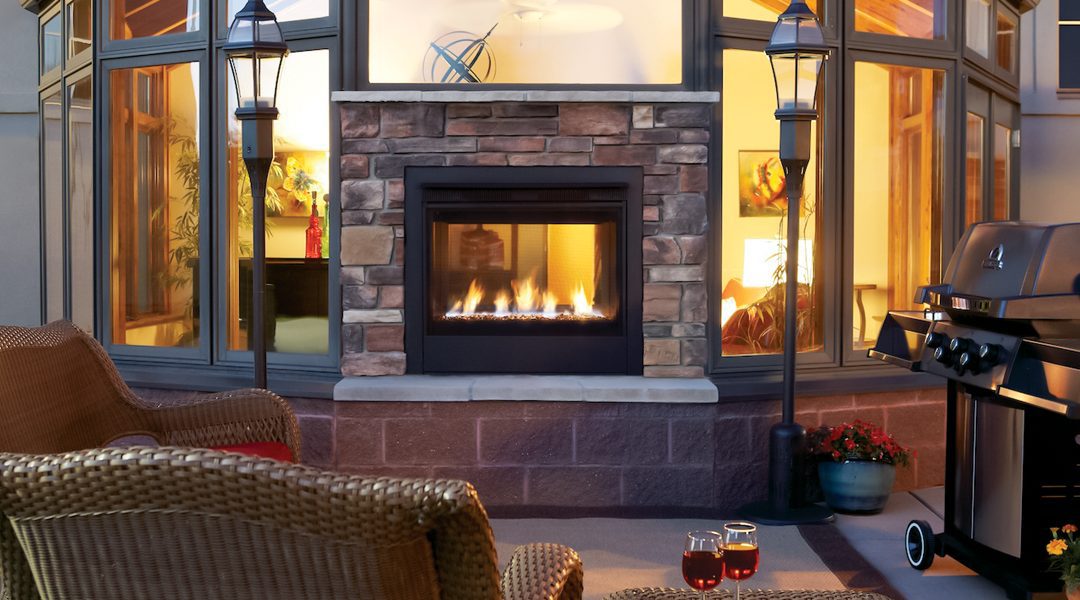
Keep brick oven and fireplace doors closed and cover fire pit openings to prevent snow and ice from building up inside the unit. If snow or ice does build up on a fireplace, fire pit or brick oven, be careful to remove any loose snow or ice, warm the unit up and thaw it slowly.
It’s important to protect your pipes, so shut off water to your outdoor kitchen and drain all water lines. Leave the drain valves open.
Turn off all of the power to appliances. Clean the inside of appliances and cabinets and wipe everything down to remove residual moisture. Do not cover outdoor refrigerators or ice makers, which could cause moisture to get trapped and cause electrical damage.
Cover any sinks to prevent debris from settling in the basin. You may want to consider removing the faucet and storing it indoors. If counter tops are made of stone, consider applying a sealant to prevent leaf stains or cracks caused by freezing moisture.