Top Reasons to Install or Upgrade a Fireplace

Top Reasons to Install or Upgrade a Fireplace

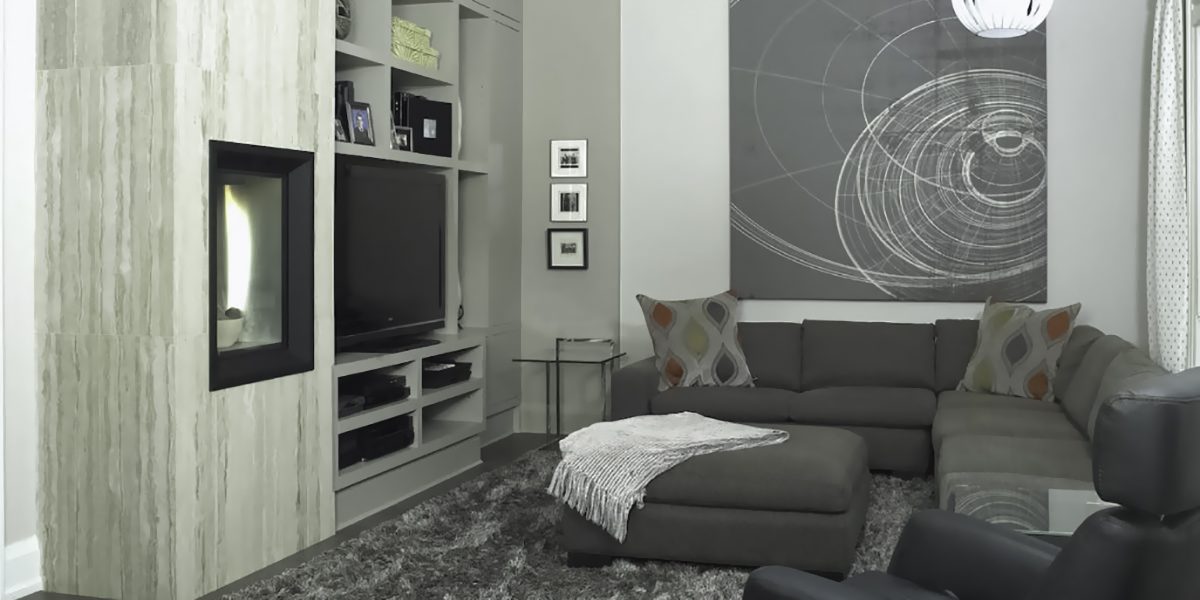
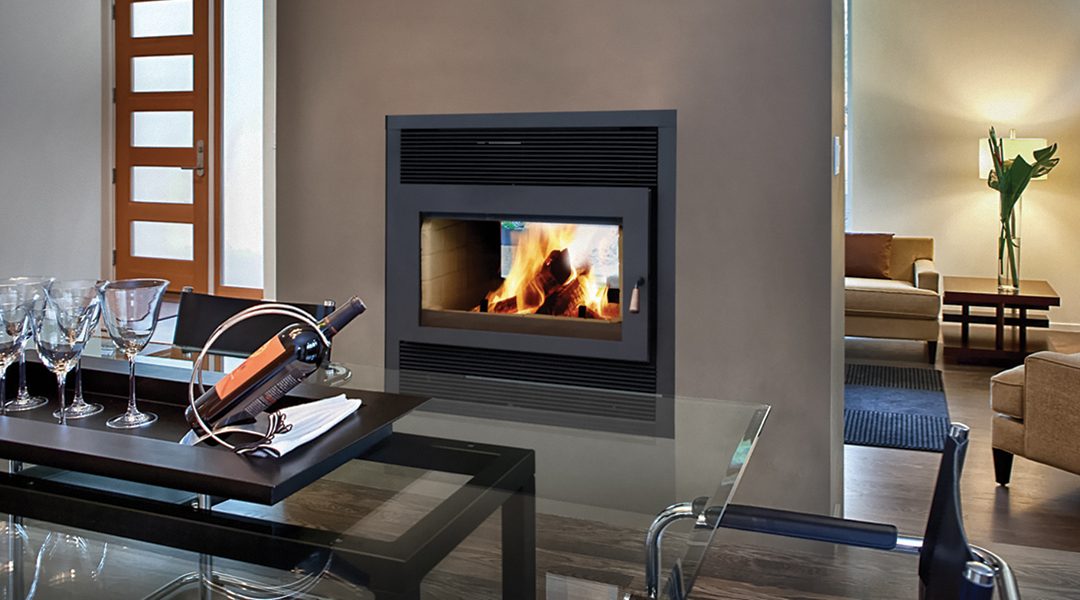
When it comes to adding ambiance, there is nothing better than a fireplace. Whether woodburning, gas or electric, a hearth appliance not only increases your home’s value but can lower your monthly heating costs, all while creating a comfortable, happy space for friends and family.

Increased Home Value

According to real estate professionals, one of the most desirable features for homebuyers is a fireplace, and having one could add 6–12% to your listing price. A recently updated fireplace can add value to your home when you’re ready to sell, especially if it’s a high efficiency appliance.

Affordability

It may come as a surprise, but a hearth appliance can provide an efficient space heating option that won’t break the bank. The cost of upgrading a fireplace varies but can be quite an affordable option when considering improvements to your home. It can also help you save money on heating costs by allowing you to heat the spaces where you and your family spend time together.

Aesthetics

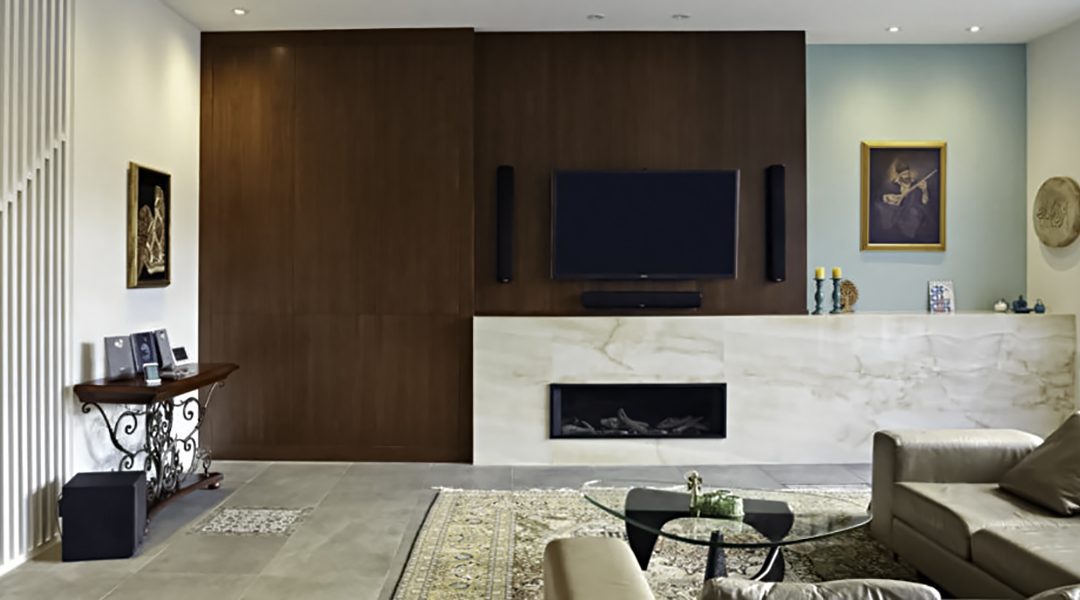
No one can dispute the allure of a fireplace and the calming effect it can have, making your home an escape from your hectic life. A simple facelift and upgrade can dramatically update the look and efficiency of your existing fireplace.

Family Time

With the popularity of mobile devices it isn’t surprising our national average screen time is staggering and steadily climbing. The result is less quality time together. Creating a comfortable and calming family room centered around a hearth will mean more quality time with those you love.

If you think it is time to replace your hearth, visit a specialty hearth retailer to see what suits your style and budget, or check out manufacturer and local retailer websites.

Winterizing Your Barbecue

Winterizing Your Barbecue

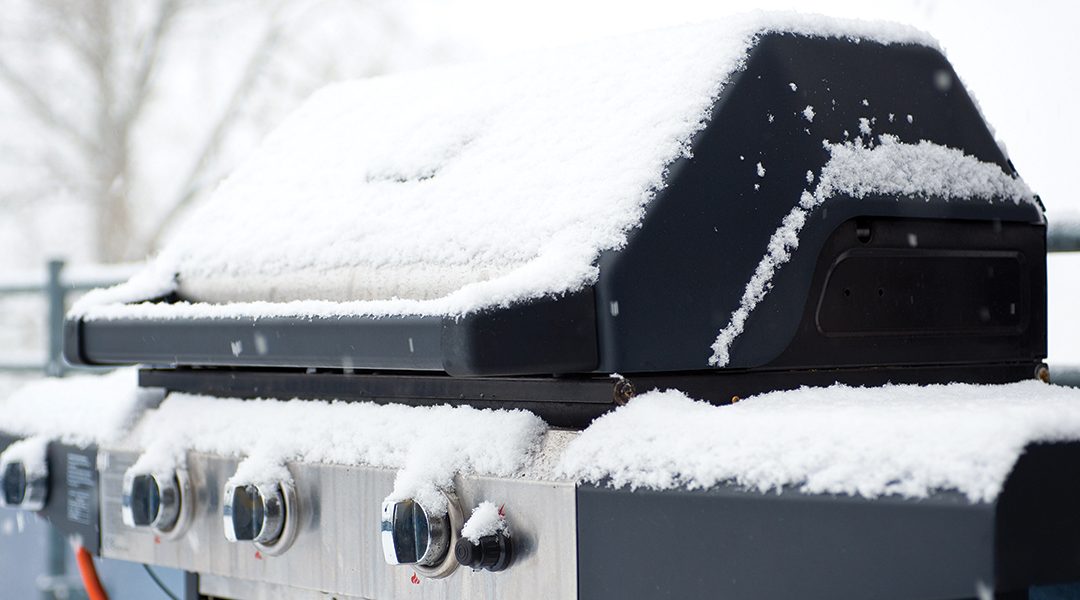
Many of us enjoy grilling outdoors year round, but for some of us, the grilling season comes to an end when temperatures drop below freezing. If you don’t plan to grill during the winter, we recommend “winterizing” your grill. Properly caring for it during the winter months will ensure your appliance will be in good working order next season.

Cleaning the Grill

Apply non-stick spray on the grates before lighting the grill; the protective spray cuts down the clean-up time afterwards. Heat for about 15 minutes, turn off the grill and allow it to cool. If you have a charcoal grill, line the bowl with aluminum foil. After heating, and once the grill and coals are cool, discard the foil with the coals and ash.

Once the grill has cooled, use a wire brush or even crumbled aluminum foil to scrub away buildup on the grates, and discard any grease from the grease tray. Spray grease-cutting dishwashing detergent on grill and grates, scrub with brush or abrasive pad, then rinse. A repeat may be necessary.

Clean the outside of the grill, using a good stainless steel cleaner; it’s important to scrub and polish in the direction of the grain. Make sure all dirt is removed, which can get trapped in the grain.

Covering the Grill

Invest in a good cover for your appliance; this is especially important if you plan on keeping it outside. Prolonged exposure to the elements can shorten the life of your grill, no matter how high quality it is. Grill covers are a good investment, when you compare their relatively low cost to the price of replacing your grill.

Cover once the barbecue is cool and dry.

Storing the Grill

If you won’t be using your barbecue during the winter, unplug your gas from the wall or remove your propane tank. If you have space, we recommend storing the barbecue in your garage or under a covered part of your patio. It is not safe to store propane tanks in the garage; store them outside, off of the ground, and cover.

If you have cast iron grates, it’s best to bring them inside. Temperature changes can cause them to crack, and moisture in the air can cause them to rust. It’s a good idea to season them before you put them away.

Preparing Your Outdoor Living Space for Winter

It’s also important to prepare and protect the rest of your appliances and equipment, so that everything is ready to use in the spring.

Keep brick oven and fireplace doors closed and cover fire pit openings to prevent snow and ice from building up inside the unit. If snow or ice does build up on a fireplace, fire pit or brick oven, be careful to remove any loose snow or ice, warm the unit up and thaw it slowly.

It’s important to protect your pipes, so shut off water to your outdoor kitchen and drain all water lines. Leave the drain valves open.

Turn off all of the power to appliances. Clean the inside of appliances and cabinets and wipe everything down to remove residual moisture. Do not cover outdoor refrigerators or ice makers, which could cause moisture to get trapped and cause electrical damage.

Cover any sinks to prevent debris from settling in the basin. You may want to consider removing the faucet and storing it indoors. If counter tops are made of stone, consider applying a sealant to prevent leaf stains or cracks caused by freezing moisture.

Choosing Your Fireplace

Choosing Your Fireplace

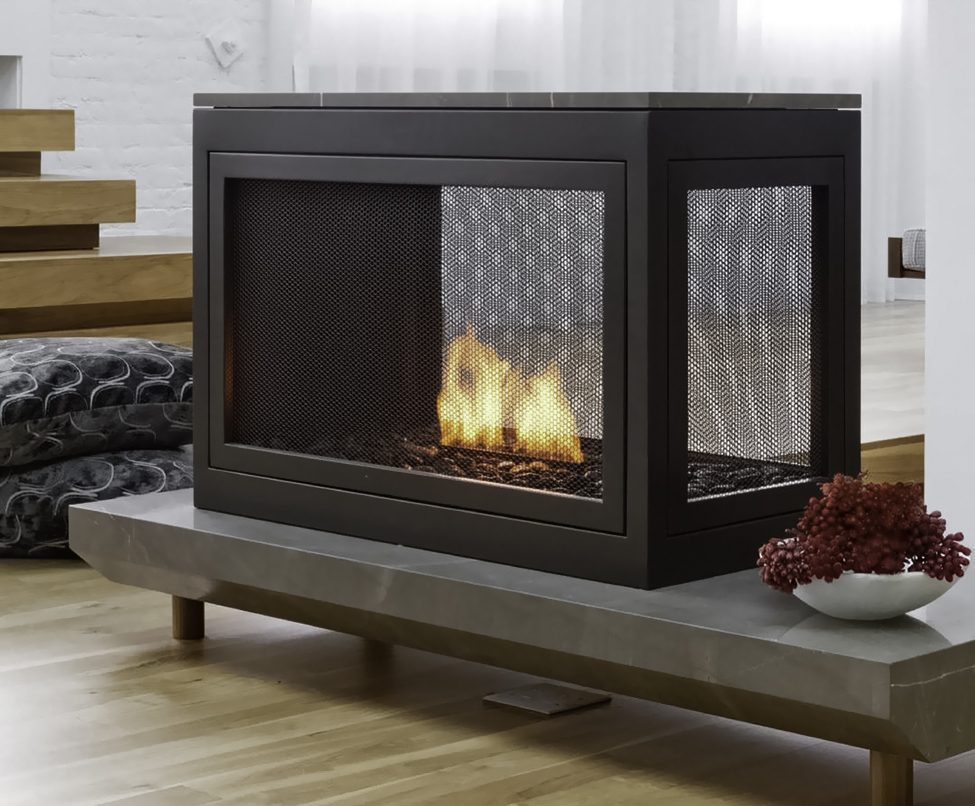
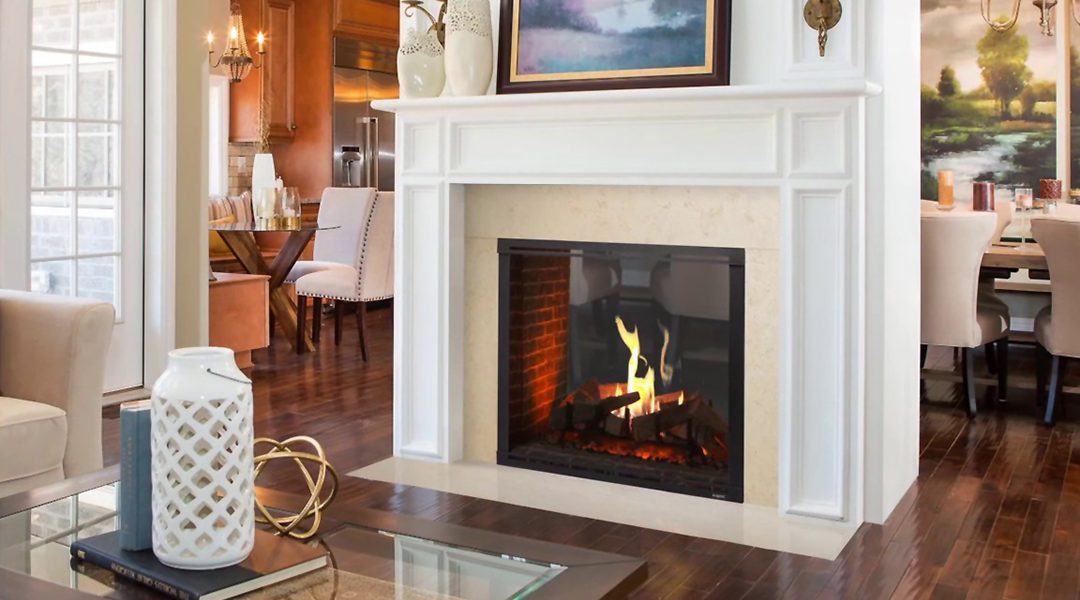
Looking for a wood or gas fireplace? If you are thinking about adding a hearth appliance to your home or replacing an existing appliance you will want to consider which appliance makes the most sense for your space and your lifestyle. You will want your new fireplace to suit your décor, and there are many options when it comes to style, including contemporary and traditional looks. Woodburning and gas appliances both offer a variety of design elements to consider, such as linear and rectangular configurations, and see-through and three-or-four-sided bay fronts. The type of appliance installation is also an important factor in choosing the right fireplace for you. There are three options available.

Built-in Fireplaces

Even without a chimney, you can have a fireplace! The zero clearance fireplace allows you to place an appliance just about anywhere. This type of pre-fabricated fireplace is usually used in situations where there is no existing fireplace installation. You simply need a wall. Most zero clearance appliances are safe to install within inches of combustible material such as drywall and wood, and your qualified hearth specialist will direct you in to choosing the correct appliance for your situation. Depending on the location of the appliance and the fuel requirements, the exhaust pipe will exit directly through the wall or through the roof. Zero clearance wood or gas fireplaces offer excellent installation flexibility. Once you’ve chosen, have it installed by a qualified professional and finalize the decor to your taste.

Fireplace Inserts

A fireplace insert, or built-in fireplace, is a factory-built metal box that is designed to be installed in the existing cavity of a masonry or open fireplace. The insert turns your old, inefficient fireplace into an efficient, cleaner burning one, saving you money and providing much more effective heating. You’ll find many options available in this category of appliance, including style and fuel options.

Free-standing Stoves

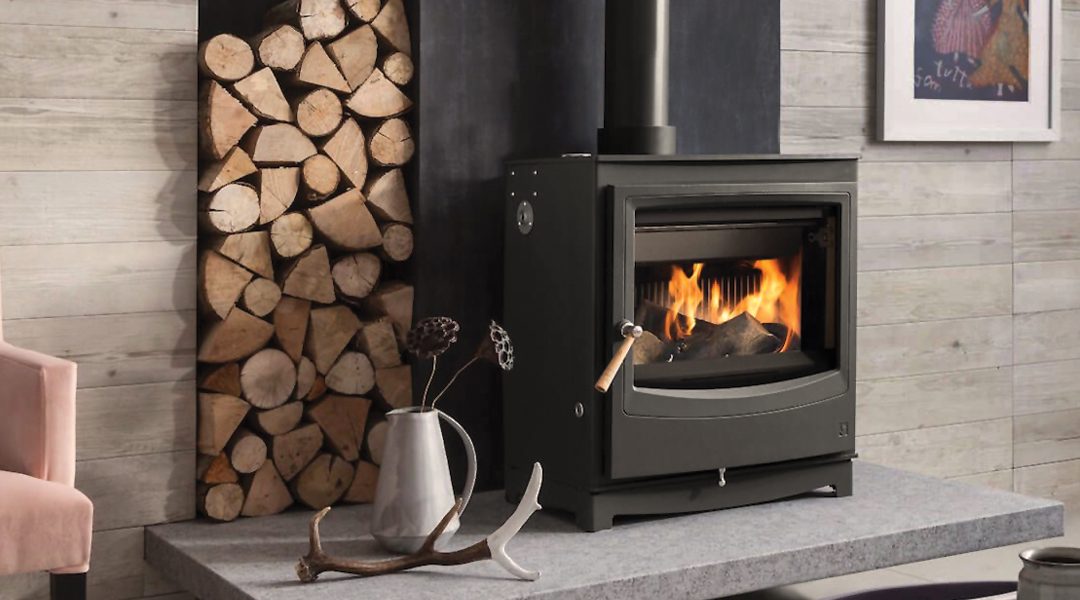
Traditionally, free-standing stoves tended to be relegated to the basement and were mainly used for heating. Today, the stove, whether wood, gas or pellet, has many advantages. Installation usually does not require much finishing work. Modern stoves are now much more beautiful, efficient, and cleaner burning than ever before. Indeed, the stove is back in fashion and manufacturers have designed exciting new stoves with great new looks. Stoves are now counted among high-end appliances and are popular with design professionals.

You can now distinguish between the three types of hearth appliances and make the best choice for your home. Visit a HPBAC Specialty Hearth Retailer to see all the wonderful possibilities or visit manufacturer and local retailer websites.

The #WhyIGrill Movement

The #WhyIGrill Movement

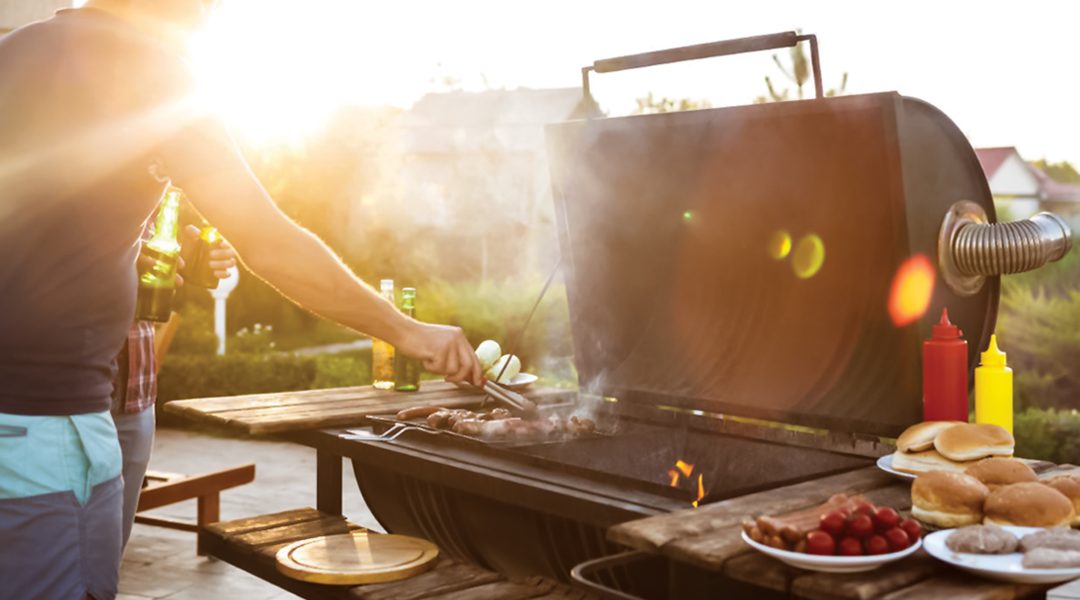
Maybe you grill to relax. Your backyard is your oasis, your respite, your happy place. The flame is your focal point. Maybe you grill for nostalgia. Backyard barbecues make up your happiest memories. Your grill is your time machine to your best moments growing up. Maybe you grill to step it up. You’re in your new home. You’re starting a new family. Your grill tells the world your adulting game is lit. Or maybe, just maybe, you grill for the sheer joy of cooking. The sizzle on the grates, the smell rising to the sky, the juices dripping on the coals. No matter the reason, we love that you love our favorite pastime.

Whether for the flavour, for fun, to compete, to impress, or maybe even for nostalgia’s sake, there are endless reasons to grill and it is time to dig deeper to fully understand these reasons.

Grilling excitement is spreading and the #WhyIGrill campaign taps into that enthusiasm. Whether the casual cook or the celebrated competitor, we look forward to learning everyone’s reasons for grilling.

To join the movement visit WhyIGrill.org. This online hub showcases how and why grilling is becoming a year-round lifestyle choice. You’ll find recipes, including some from top pitmasters, tips and tricks, interactive social media feed and current happenings.

In addition, follow HPBAC on social media throughout the season and share on social media with the “#WhyIGrill” campaign hashtag.

Visit WhyIGrill.org to find out more information about this exciting initiative… and don’t forget to tell the world what fires you up by sharing your story on social with #WhyIGrill.

Recipes from House of BBQ Experts

Recipes from House of BBQ Experts

House of BBQ Experts is a Montreal, Quebec-based company that offers BBQ products, knowledge, support and more. Max and JP Lavoie, two young visionaries from the Quebec City area, cofounded the company.

Their motto? Changing the world, one barbecue at a time.

They generously shared three recipes with HPBAC to demonstrate how best to use their ingenious, hand-crafted All-In-1 tool.

The All-in-1 merges every type of cooking into one. The door will let you get a real flame over your cheese, melting it to perfection on your pizza, or have a quick look at your ribs on the first shelf of your smoker. Nothing is better than 2 chickens slowly grilled over live fire… with or without the lid. Made from 100% 304 stainless steel, you can use it like a tandoor grill and cook your Naan directly on the inside walls. It’s perfect for churrasco, asado and santa style BBQ.

Rotisserie Chickens

Servings: 8-12Prep time: 30 minutes
Marinating time: 1 hour
Barbecue Temp: 200°C (400°F)

Ingredients
Preparation

Preheat the grill using only the back burner. Rub the inside and outside of the chickens with the spices. Skewer the chickens back to back and tightly squeeze them together.  Tie the end of the legs using stainless steel pins. Set a drip pan under the chickens. Cook for approximately one hour, until the meat easily comes off the bone. Note for cooking with coals: put the coals under the chickens. Make sure that the rod turns constantly so the chickens do not burn. Ten minutes before the end of cooking, baste the chickens with the preferred sauce

Cold-Smoked Salmon

Prep time: 10 minutes
Marinating time: 36 hours
Max smoker temp: 30°C (85°F)
Smoking time: 4-12 hrs

Ingredients
  • Maple wood pellets
  • 2 fresh salmon fillets with skin 675 g (1-1/2 lb) each
  • 4 tbsp maple syrup
  • 4 tbsp bourbon
  • 300 g (1 cup) coarse salt
  • 75 g (1/2 cup) maple sugar
  • 110 g (1/2 cup) brown sugar
  • 40 g (1/2 cup) Montreal spice
Preparation

Put the fillets in a large pyrex plate, skin side down. Prepare the dry rub: mix all ingredients in a bowl. Coat the fillets evenly with the mix. Cover with plastic wrap and refrigerate for 24 hours. Remove excess spice rub with your fingers then put the fillets in a resealable large bag. Drizzle with maple syrup and bourbon. Refrigerate for 12 hours. Fill half the smoker box with the pellets. Burn the pellets for 2 minutes before extinguishing the flame. Set the box as far as possible from where the fillets will go. Set the salmon on the grill then quickly close the lid. Cold smoke the salmon for 4 to 12 hours. Let the salmon rest in the refrigerator for 24 hours before. Cut in slices and serve.

Nana Cécile’s Pizza

Servings: 2 x 20 cm (8”) pizzas
Prep time: 5 minutes
Barbecue temp: max
Cooking time: 6 mins/pizza

Ingredients
  • 1 pizza dough recipe
  • 180 ml (3/4 cup) pizza sauce
  • 4 tbsp fresh basil, chopped
  • 2 tbsp fresh oregano leaves
  • Fresh ground pepper
  • 1 buffalo mozzarella ball, sliced
Preparation

Set a pizza pan on the grill. Preheat for indirect cooking method. Cut the dough in half and roll out the dough into 2 rounds of 20cm (8”) diameter. Cook the dough.Spread the tomato sauce on the crust. Sprinkle with cheese and herbs. Season to taste with pepper. Cook the pizza for 1 to 2 minutes rotating it once so cheese melts uniformly. Cut the pizza in slices and serve.

Tips for Creating an Outdoor Room

Tips for Creating an Outdoor Room

An inviting outdoor room greatly increases the appeal and value of your home and provides a comfortable, happy space for friends and family, allowing you to maximize the time you spend outdoors. Here are a few suggestions to keep in mind while creating the perfect space for you.

Determine the Available Space

Determine the amount of space you want to transform, and gather ideas on how to use this space, taking into account the purpose you want it to serve: cooking, dining, relaxation and play.

Identify Spaces and Products Dedicated to Specific Areas

These elements are crucial to establishing a plan according to your needs and desires. Position an outdoor fireplace as the focal point, determine the cooking and eating spaces, and define any other area you want to include.

Create Your Wish List

Magazines, newspapers and websites are all excellent reference tools that can guide you in your quest for the perfect outdoor room. Collect, print and file your favorite photos and articles so you can refer to them as you develop your outdoor room.

Consider the Style of Your Home

It is important to understand the architectural style of your home in order to create an outdoor room that reflects the interior. There are products, furniture and objects for all tastes and styles.

Think About Foundations

A stone terrace, retaining walls, a fence and a terrace are basic elements to consider.

Use Landscaping as an Accessory

Well positioned flowers, plants and shrubs will add the finishing touch, completing your design. Select plants that change with the seasons, offering different colors, different blooms and heady smells depending on the time of year. Be sure to read our article on working with a Professional Landscaper beginning on page 4 for more information.

Draw Up a Plan

The best way to design an outdoor room that will reflect your desires is to make sketches. Don’t worry about your drawing skills; the important thing is that the general idea is well represented.

Visit a Specialty Shop

A specialized retailer is a key partner in creating your outdoor room. Bring your ideas to a retailer who sells fireplaces, barbecues and/or patio furniture. They can help you determine the products, materials and accessories available in your area and guide you in the realization of your plan, in addition to coordinating the installation. A turnkey service will save you from surprises.

Research Products You’re Interested In

After checking details with a specialized retailer, go online to review products and manufacturer information.

Add Furniture

Choose comfortable furniture that will make people want to linger. No matter the style, patio sets are designed to create atmosphere, and give beauty and character to the oasis that will reflect your personality. In addition to tables and chairs for the dining area, consider a lounge area with sofas, loveseats and side tables.

Don’t Forget The Lighting

Maximize the time you spend outdoors by lighting important areas such as sidewalks, dining and leisure areas, or around the pool. Strategically place lights to highlight your landscaping.

Details, Details, Details

Once everything is done and done right, you can add small details that will make your outdoor room stand out. Pots of flowers, rugs, a special table or a piece of art can all enhance the ambiance of your patio!

Complete Your Project One Step at a Time

It often takes a few years to achieve the perfect end result while staying on budget despite a long wish list. Start by installing an outdoor fireplace and plan a dining area. Over the years, add accessories, decorative elements and landscaping.

Build Your Space

Have fun building this space! Remember to include all the things that are important to you, such as cooking, dining, relaxation and play areas.