Happy National BBQ Month!
May is National BBQ Month, and there is no better time to visit your local retailer to check out the latest grills and accessories. For many of us, our outdoor living space becomes a second kitchen and dining area during the summer, and a grill is often our primary way of cooking all season long. Making the right choice when purchasing a new barbecue or accessory will give you years of enjoyment whether it’s outside in your backyard or patio, or at your dining room table.
5 Questions to Ask Yourself Before Buying
Buying a new barbecue of any type is an investment. To ensure you are getting the right grill or accessory for you, it’s important to ask yourself some questions before purchasing.
- How much time will I have to cook? Each type of barbecue typically requires varying levels of time commitment. If you’re often on the go and hard pressed for free cooking time, consider the convenience of gas or electric grills. Love to spend time cooking? A charcoal grill, smoker or kamado may suit you best. See below for more details on grill types.
- What’s my budget? Grills come in a wide range of prices, meaning you should be able to find one within your budget. If finances allow, purchasing a more premium grill will provide more features, a potentially longer life span of the unit, and a stronger return on your initial investment.
- How much space do I have? If you have a big backyard, consider a larger grill, perhaps with a kitchen island to create a focal point for relaxation and entertaining. Premium portable or more compact grills are ideal for condos and apartments. Do you frequently host large gatherings? Go big on your barbecue size to make the most of these special occasions.
- What do I love to cook? We often default to the foods we love the most. Many grills come with extra features ideal for certain foods. Think rotisseries if you love a roasted chicken, or side burners if you love soups and stews. Ample space for a pizza stone might be crucial if you love a good pie.
- What accessories do I want and need? This is also a great time to evaluate ideal accessories. Ensure you have a good protective cover, proper cleaning tools and a working meat thermometer. It also might be fun to splurge on new accessories that meet your cooking style, such Bluetooth temperature gauges, griddles for breakfast cooking, veggie baskets and more. Read more about the 5 must-have accessories every griller should have here.
What’s the Best Grill for You?
With so many types of grills in all forms, sizes and prices adorning a retailer’s showroom floor, what’s the right one for you? Here’s a quick guide.
- Gas: For people who want convenience. Just like your kitchen stove, it can be ready to cook in 10 minutes, and it’s easy to regulate cooking temps.
- Charcoal: For those who love being hands-on with the nuances of outdoor grilling. Some say charcoal provides the best flavour experience. Good for low and slow cooking AND high heat searing.
- Pellet: For people who want the most flavor. Wood pellet grills are among the most energy efficient and burn clean. With pellets coming in varieties such as hickory, mesquite and oak, you (and your friends and family) can enjoy a truly flavourful cooking experience.
- Electric: For people who love simplicity. Electric grills are designed to produce constant heat and operate without an open flame. Ideal for apartment or condo dwellers since they don’t require charcoal or propane.
- Kamado: For people who love cooking all styles and seasons. Kamado grills’ excellent insulation is ideal for both grilling and smoking. They can use wood and charcoal and are ideal for roasting and baking.
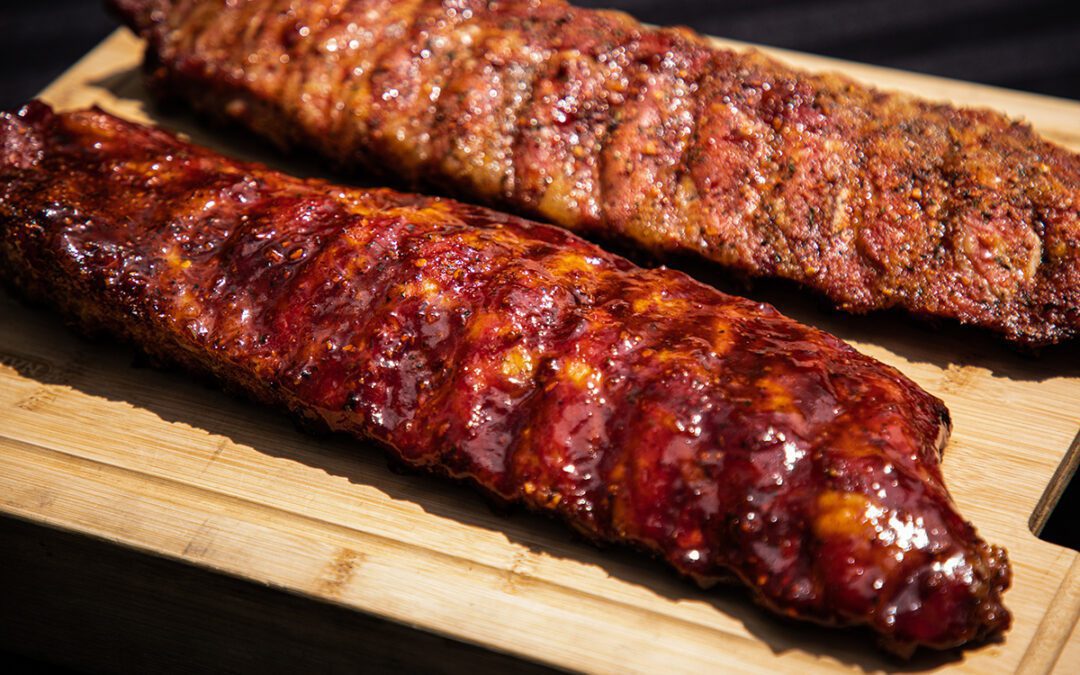
Once you’ve determined what is essential to you to make this grilling season a success, it’s time to get cooking! Try out Maxim Lavoie’s Sweet and Spicy, Tangy and Tasty Ribs – the perfect recipe to take your new grill for a spin!